Site Redesign May 2012 part 2: Styling HTML5 search inputs and little icons

Haven’t written about this for a while, but I’m still working on it!  Here is the GitHub repository, and here is the progress.

I decided to use the new HTML5 “search” input type with a placeholder.  I think it’s neat – in Chrome and Safari, when you type something, there is an “x” added you can click to clear the text.  Placeholder works in my Chrome, Safari, Firefox, and Opera, but not IE (was not surprised).  I wanted to center the text in the search box, but “text-align: center” didn’t seem to affect the placeholder text for Safari.  I found a “::-webkit-input-placeholder” selector, but unfortunately, “text-align: center” on the placeholder text specifically still didn’t work.  It was odd to have the placeholder text left-aligned, but the text typed in centered, so I decided to just leave the text left-aligned.

It was also pretty annoying trying to style the input box in the first place, because nothing seemed to affect the style in Chrome or Safari.  I found a Stack Overflow question that was pretty enlightening: HTML5 Search Input: No Background Image in Chrome?  Apparently, the browsers that support the “search” input type (WebKit – Chrome and Safari) apply their own special styling, which is not currently accessible.  The other browsers don’t support “search”, so they just style the input like normal “text” types.  A solution in the answers was to use “-webkit-appearance: none” to clear the default styling.  Worked for me!

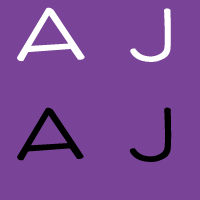
Also made my little icons and author icons into sprite sheets (except the search ones – I think you won’t be able to see the second search one because it’s black), plus a favicon (look up)!


I think I’ll be editing the third (largest) layout version, based on feedback.  Not sure what I’ll do yet.

Site Redesign May 2012 part 1: My approach

I’m finally redesigning this site!  I’m putting it on GitHub for version control, but also because I think it’s neat to be able to learn from others’ source code.  Here is the repository.  In addition to fully commenting everything, I’m keeping notes on sites I find really useful while I’m working on this.

I’m attempting a responsive design (read Responsive Web Design!  It’s awesome).  I’ve decided to do basic layout structuring for three different layouts (small, normal, big) in stand-alone stylesheets first, then build up with media queries from the small one to the big one (my attempt at mobile-first).  So far I’ve done the normal and the small.  Next is to do the big layout, then combine them into one stylesheet with media queries so it’s actually responsive.  Then, add real styles instead of this ugly temporary yellow boxy look.  And finally… the part I’m unsure about… is integrating this with WordPress.  We’ll see!

I really like Media Queries, which is where I’m getting a lot of inspiration for responsive designs.  I’ve taken to resizing nearly every site I come across now, to see if it’s responsive.  That’s how I found the awesome little detail on CSS-Tricks – the narrower the width, the more worried the frog gets!  See for yourself!

I also wanted to note that HTML5 Boilerplate is awesome.  I’m not using it, because it’s a little too full-featured for me (I want to learn and start from the basics on my own instead of using a whole pre-built structure right now), but the comments in it are so useful and great to learn from.  I’m starting reading source code a lot more lately.  Which reminds me, I remember back when I was playing around with websites in middle school, there was that trend of disallowing right-click so that people couldn’t “steal” images or source code…  Things have changed so much now, there are even ads in source code!  Check it out – look at this source code of Blacktie.  I have no idea what that site is (I found it through HTML5 Gallery), and I found that source code ad on accident, but I think it’s awesome despite the fact that it’s an ad.  It’s an interesting way to get to your target audience!

Infinite Parallax Experiment part 4: Images added, done for now!

GitHub repository, view experiment here.

I’m “done” as much as a random experiment can be done.  I’ve got a parallax effect based on mouse movement – I still can’t really figure out the best movements to make it look more 3D – and clicking on the landscape moves you “forward”.

My images are kind of retarded looking :( The overall effect is kind of confusing; I think I tried to put too many levels, so there’s too much going on at once.  I originally had this really complicated background too, with mini trees and bushes and mushrooms, but it didn’t make sense for that to stay so still while the other levels were moving forward.  Also, I didn’t draw that many possible images, so when they’re randomly selected, they repeat a lot.  It looks cool when they move forward on click though.

Oh well!  It was a fun experiment and I learned a lot.  Most importantly that I’m really bad at anything graphics related and should leave that to other people.

Now, on to use what I’ve learned to redesign BaconFriedRice!

Repetition in the landscape

My 6 possible images


Infinite Parallax Experiment part 3: Animated moving forward

GitHub repository, progress so far.

I’ve got it to “move forward” when you click, and today I animated it.

Originally I was moving forward by just moving the images into the level in front of it.  The levels are stacked divs with different z-indexes, so when I just moved the images into their new levels on click, it was a bit jarring.

The jQuery class I was in had talked about animations, so I decided to try it.  Unfortunately, this meant I had to change how I was doing things.

I assume that all the images I use will be the same size, to make calculating positions easier.  For the two back levels, I had been using transform scale in the stylesheet to make the images smaller.  However, jQuery’s animate function can only animate properties with number values.  This meant that I couldn’t use, say, transform: scale(0.8).  However, I could animate the change in width and height – so I decided to do that instead.

Now, to animate it, I move all the existing images forward a div; the front-most level is moved into a temporary div on top of all the other ones.  When this is done, there is no visual difference.  Then, I fade out and remove the images in the front-most level, animate the change in width, height, and position of the second and third levels, and fade in a new back level.

If the mouse was moved during the animations, there was a bit of weird jerking movement, so I just made it so that the mousemove handler has no effect until the animations are done.  Good thing the jQuery animation functions can take callback functions!

I also changed the temporary images to different temporary images of just numbers.  It’s a bit easier to see the movement, but still kind of weird looking since they don’t have borders.  All that’s left is to draw the actual images though, and then it should be done!  Unless I find some weird bug or think of something else to add to it…

Infinite Parallax Experiment part 2: Adding movement

I’m taking a jQuery class right now through work, and it’s so cool.  You can do so much with it, and it’s so amazing to imagine how much work went into making it all cross-browser-compatible and easy for you to use.  It made me even more excited about playing around with this infinite parallax idea.

Here is the GitHub repository, and here is the progress so far.

I actually worked on it last week, but didn’t have a chance to write about it.  I can’t really remember what I did last week… but today I edited some of my JavaScript based on some jQuery tips I learned in the class, and also added movement to the three levels.  I don’t really know what kind of numbers to use to make it look 3D, so they’re kind of random.  I guess I’ll tweak them after I add the real images, as it’ll be easier to see then.

Next step is to do the “moving forward on click” part!  I learned some stuff today that makes it a lot easier than I thought it would be.  Excited to do that tomorrow!

More notes

Responsive Web Design by Ethan Marcotte

I finished this book a few weeks ago, but never got around to writing about it.  I loved it though!

Ever since I came across the idea of responsive design, I’ve been fascinated with it.  I just think it’s such a neat idea, and it seems so obvious after you hear about it.  After I finish the Infinite Parallax experiment I’m going to make a responsive layout for BaconFriedRice!  Yes, two years later, I’m finally going to actually work on it! (For real!)

Anyway, Responsive Web Design by Ethan Marcotte is amazing, especially because it is written by the guy who came up with the idea in the first place.  Just like all the other A Book Apart books, the writing tone is awesome, and the content tells you things you can do to create a responsive site right now.  He shows you how to do it by creating an example page that you can actually go view and play around with.

One thing I really like that Marcotte says is that a web designer’s canvas is the browser (page 3).  However, unlike other art mediums where the canvas is precisely selected beforehand, the browser continually changes, and you can’t rely on a consistent format, which make web design pretty challenging.  I’ve never thought of it that way before, but now I view it all in a whole new way.

Marcotte sees three ingredients of responsive web design, and breaks up the chapters accordingly: 1) a flexible, grid-based layout, 2) flexible images and media, and 3) media queries (page 9).  I won’t go too much into exactly what he says in the book, but I found it extremely helpful.  He breaks down the steps he takes to make a layout responsive, which makes it pretty easy to follow, and it seems like it’s not too hard to break into creating responsive designs.

Basically: read this book!

Also, he made an “over 9000” joke :) He put comments above some media query breakpoint examples: “Default, linear layout”, “Small screen!”, “Desktop”… and “IT’S OVER 9000”!

Just read it!

Mahou Shoujo Madoka Magica

I’ll admit that I’ve been putting off watching this anime. This is an anime about Magical Girls, prominently featuring tons of Lolis. That’s typically a good sign for me to stay away. BUT, I heard from several places that it was an amazing anime, probably one of the top three from 2011. AND I saw that it was created by SHAFT (the studio that did Bakemonogatari, Ef, and Sayonara Zetsubou Sensei to name a few) which I have a studio boner for. SO I decided I might as well get over the Loli and watch it anyway.

This anime is no fucking joke. Based on all the reviews, I expected it to be awesome and it was. I watched all 12 episodes in about a week, which means it was so good that it even surpassed video games in the bid for my free time.

The story takes a typically happy and cheerful genre of Magical Girls and applies a super dark, twisted look on it. It provides a very interesting and unique perspective; something fresh that I haven’t come across in a long time. In terms of spoilers, I will say that I sort of predicted a lot of the twists and turns, but that may be because I went into it with the knowledge that this would be a dark anime. However, even if I kind of knew what was going to happen, it still didn’t make it any less exciting to watch.

The pacing of this anime is spectacular. The short 12 episode style means each episode is straight to the point and doesn’t dilly dally around for no reason. I will say I didn’t really connect with any of the characters very well, but that might just be because I’m not a 13 year old girl.

Ultimately, what won me over was the amazing animation styles that SHAFT tends to put in. During dialogue, anime tends to switch to pans of nearby scenery or objects, while the characters continue to talk. This was originally used as a way to save on animation costs, but SHAFT goes way past this and shows the most random things possible. Characters will be talking in a room, the scene will shift to water falling down a drain, and then the scene shifts back to the characters in the room, with seemingly no reason for that switch. SHAFT also makes boring, everyday environments look absolutely ridiculous. Yet, somehow it ends up looking great. How awesome would it be if you got to brush your teeth in this bathroom?

Overall, this is definitely one of the better animes of the last few years (on par with Steins;Gate) and is worth a watch from any anime fan. It also reaffirmed my belief that SHAFT is my favorite studio.

Bacon Flowchart

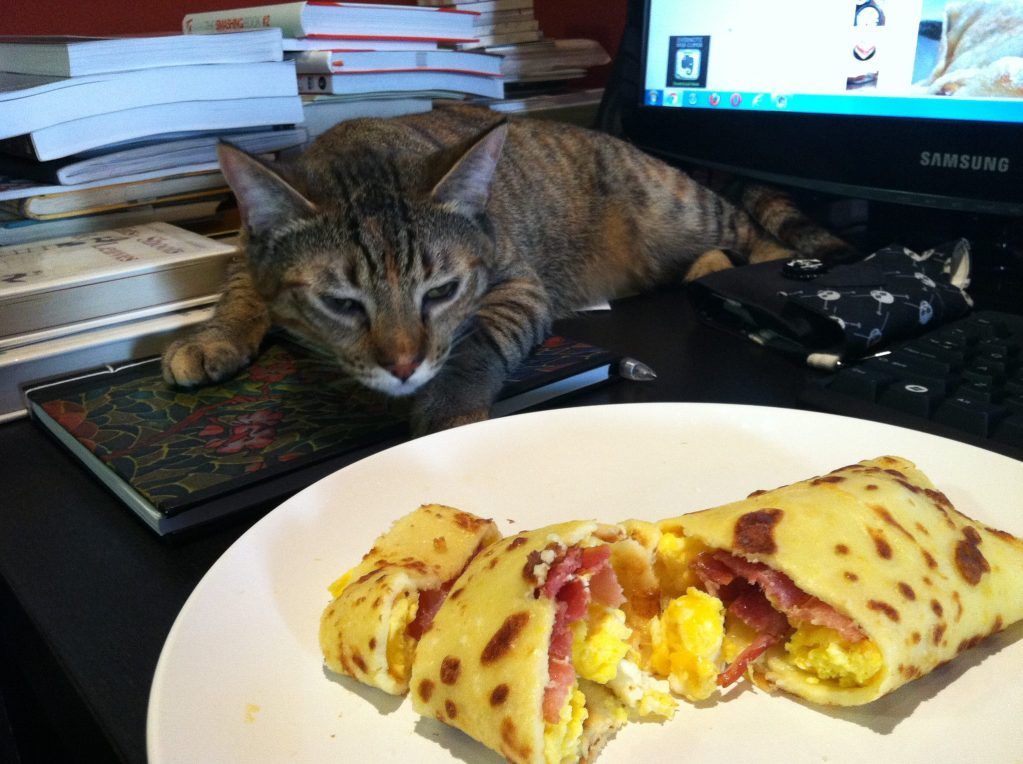
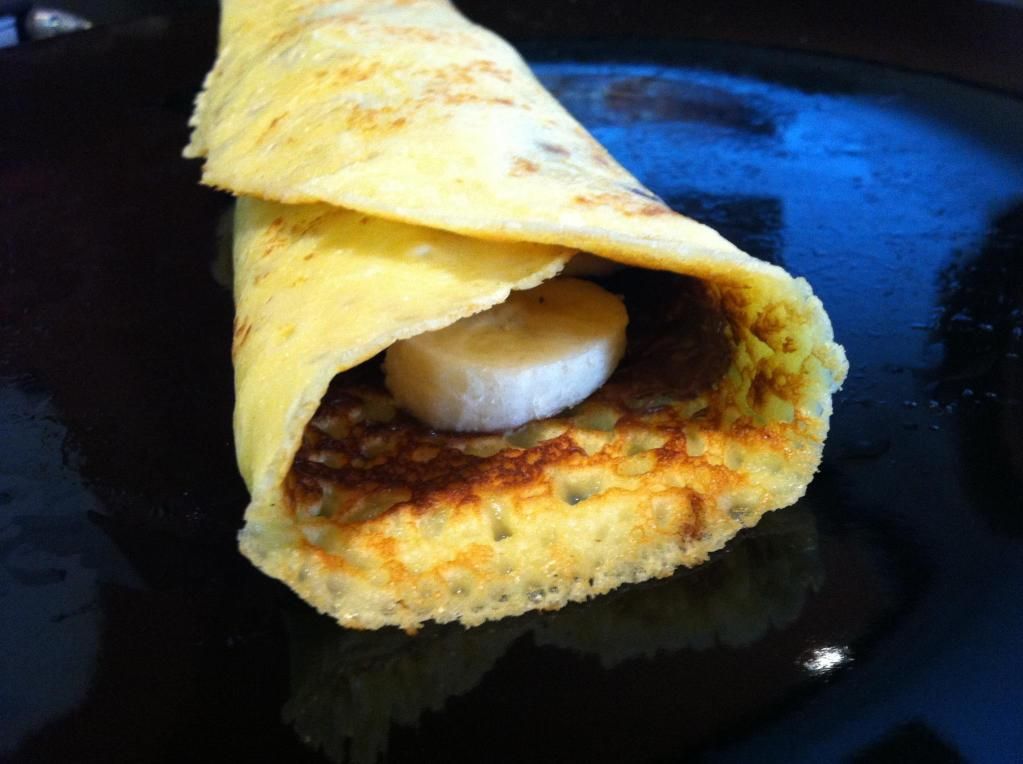
So one of my friends posted this bacon flowchart on my Facebook wall:

Another friend apparently doesn’t have enough to do at work and made an Allison version:

I have no words for how awesome that is.

Infinite Parallax Experiment part 1: Setting up

I’ve always loved the cute little parallax effects GitHub has on their site.  The three I’m specifically talking about are their About, 404, and 500 pages.  Aren’t they adorable?  These are based on mouse position, where a lot of the common parallax effects seem to be based on the scroll bar.

I showed this to my friend Rosemary a few weeks ago, and she mentioned that it would be cool if it there was even more of a 3D effect by moving you “forward” infinitely, so that whenever you clicked, the front-most layer disappeared, the other layers moved forward, and there were new elements in the back layer.  It’s been on my mind since then, so I decided to play around with it and make it a quick little experiment.

So far it’s also been a good chance for me to become more familiar with GitHub (and Git!) and jQuery.  I’m putting the source for this experiment in this infinite-parallax GitHub repository, and you can see what I’ve done so far here: Infinite Parallax.

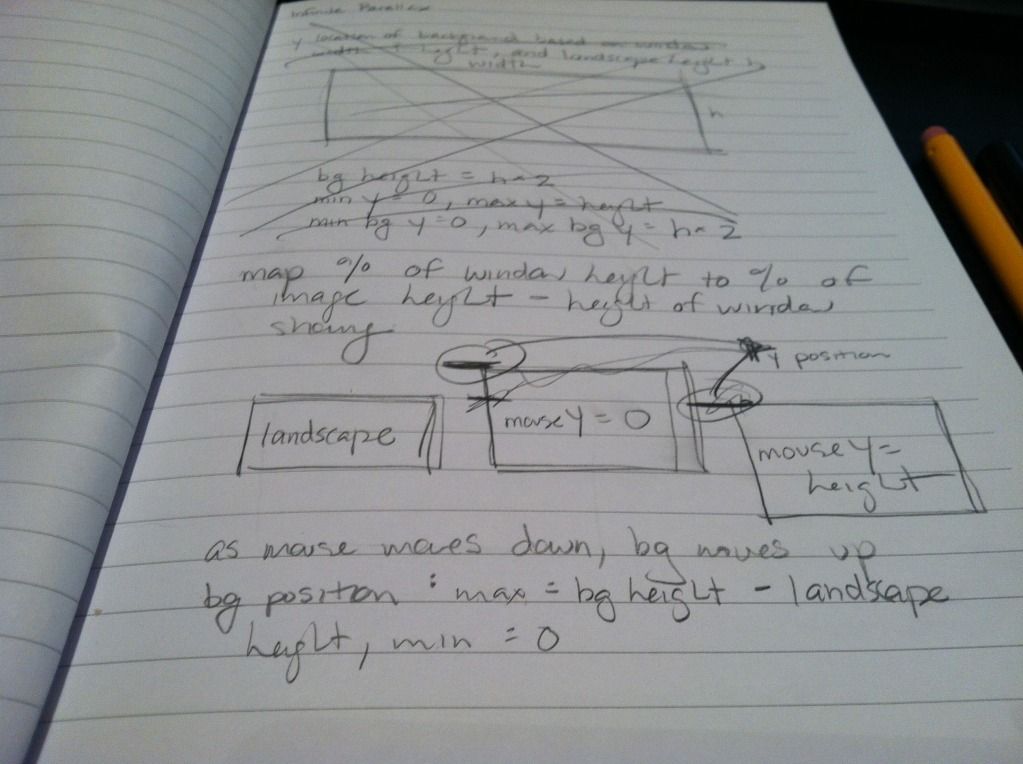
It isn’t much yet.  So far I’ve just made a test background image for the landscape, and had the image move around based on the mouse position.  When the mouse is at the top of the window, it shows the top of the background image, and as the mouse moves down, the background image moves up, so that when the mouse is at the bottom of the window, it shows the bottom of the background image.  The x-movement is kind of arbitrary right now, as I don’t know what the final image will be, and it will probably need to be tweaked based on that.

My scribbly notes

My scribbly notes

Clicking on the landscape just pops up a temporary alert I put in the function where I will be manipulating the different layers of images.  I still have my test numbers in there, so right now the landscape is showing mouseX, mouseY, and the x-position of the background image.

Next step I’m just going to put in three layers of images and play around with the x and y positions to see how far to move them for it to look okay.  Then after that, putting in random images with some random movement offsets on each, and finally removing/moving/adding layers on click!

The hardest thing will be deciding what to theme this experiment and what images to use.  I took a look at my Inspiration Pinterest board, and I think I’ve decided to use the color scheme in this pin.  Maybe a foresty theme with trees and bushes that have purple berries, and some grey bunnies or something.  Who knows!  Rosemary also showed me how to “draw” (…or rather, trace xP) in Illustrator, so I think I’ll sketch simple cute little images and trace them in Illustrator.

My first (messy) tracings!

My first (messy) tracings!